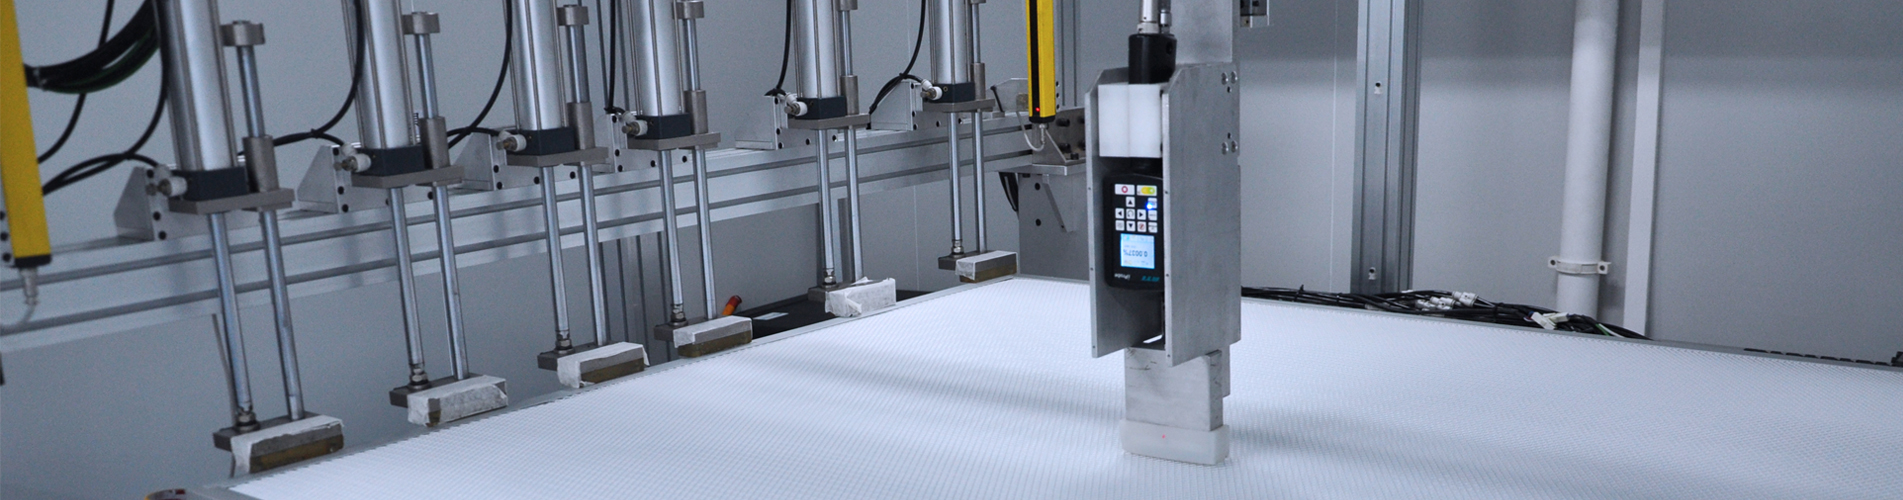
A failed PAO or DOP scan does not, on its own, confirm damage to the filter media. The source of the leak could be the media, the gasket, the mounting frame, or the housing. Equally, a flawed aerosol challenge or an improperly set up scan can yield a result that cannot be trusted. The remedy is to verify the test conditions, trace the signal to its source, fix the underlying cause, and then carry out the full test again under an approved procedure before the system is signed off.
A leak test performed on an installed filter examines the filter in its in-service configuration—seal and housing included—and so addresses a different question than a factory efficiency test. Cleanroom performance test methods are set out in ISO 14644-3:2019, whereas leak scanning of filter elements is covered by ISO 29463-4. The acceptance limit and test method for a given site must be derived from the applicable standard, the contract, and the approved procedure; a single figure should not simply be carried over from one project to the next.
Before touching the filter, record the unit ID, location, airflow setting, filter serial number, test aerosol, instrument IDs and calibration status, upstream challenge concentration, probe type, and scan path. Then check three basics:
Was the system operating at its intended test airflow? An unusually low or unstable flow changes the conditions under which a leak is detected.
Was the challenge aerosol mixed and measured correctly? An inadequate or drifting upstream concentration undermines the downstream reading.
Was the scan complete and repeatable? The media face, perimeter, seal, and accessible housing joints should be covered at the speed and distance specified by the approved method.
If any of these conditions is invalid, document the problem and repeat the measurement. Do not label a filter as failed solely from an invalid scan.
|
Repeatable signal appears at… |
Likely areas to inspect |
Next action |
|
One point on the media |
Puncture, handling damage, damaged pleat, or construction defect |
Mark the point; inspect without touching the media; follow the approved repair-or-replace rule. |
|
A line along one edge |
Uneven gasket compression, damaged gasket, or an out-of-square frame |
Inspect seating and compression; correct the mounting issue. |
|
Several perimeter points |
Wrong filter size, warped frame, missing seal, or unsuitable clamp pressure |
Confirm dimensions and hardware against the drawing and filter specification. |
|
A housing joint or access door |
Door gasket, weld, fastener, or service-port leak |
Inspect the housing separately; a new filter alone may not solve it. |
|
A broad, inconsistent area |
Challenge distribution, probe setup, unstable airflow, or instrument issue |
Recheck the method and repeat the scan before replacing components. |
This table is a fault-finding guide, not a diagnosis from the reading alone. A technician should confirm the cause through inspection and a controlled retest.
Follow the site’s contamination-control and lockout procedures before opening a critical installation. If the filter is reseated, check that its frame is clean, the gasket is continuous, the orientation is correct, and compression is even. Never press directly on pleats or use an improvised sealant. Media repair is acceptable only when the governing specification and approved procedure permit it; otherwise replace the element. For a damaged housing, repair and verify the housing rather than cycling through new filters.
After any corrective action, repeat the required installed test under the same approved conditions. A narrow spot check may locate the repair, but it should not be substituted for the acceptance scan if the procedure calls for a complete scan. Record the original failure, root cause, action, retest data, and release decision as one traceable package.
• Filter and room identification, installation date, test date, and operating state.
• Referenced procedure and acceptance criteria, including the revision used.
• Aerosol type, upstream challenge, instruments, calibration status, and scan map.
• Each detected location, corrective action, and evidence of retesting.
• The responsible technician’s result and the authorized release decision.
For regulated sterile manufacturing, qualification and requalification also need to fit the site’s contamination-control strategy. The EU GMP Annex 1 includes integrity testing of final filters among cleanroom requalification activities.
Yes. Transport damage, a damaged seal, incorrect seating, or housing leakage can appear only after installation. Keep the factory report, but verify the assembled system on site.
Both names are used for oil-aerosol challenge tests, but the aerosol material and approved procedure are not interchangeable by assumption. Specify the material, instrument setup, and method in the test plan.
First confirm that the reading is repeatable and the test valid. Then use the location and inspection findings to decide whether the filter, seal, or housing needs action. Critical areas should remain under the site’s control until the retest is accepted.
For a full overview of the procedure, see KLC’s HEPA validation guide. To prepare an installation-specific test package, request the filter’s serial-numbered factory report, drawing, seal details, and recommended test access from the supplier.
• ISO 14644-3:2019 — Cleanroom test methods
• ISO 29463-4 — Filter-element leak scan method
• European Commission, EU GMP Annex 1



 IPv6 network supported